This post contains affiliate links. As an Amazon Associate, I earn from qualifying purchases. This comes at no extra cost to you.
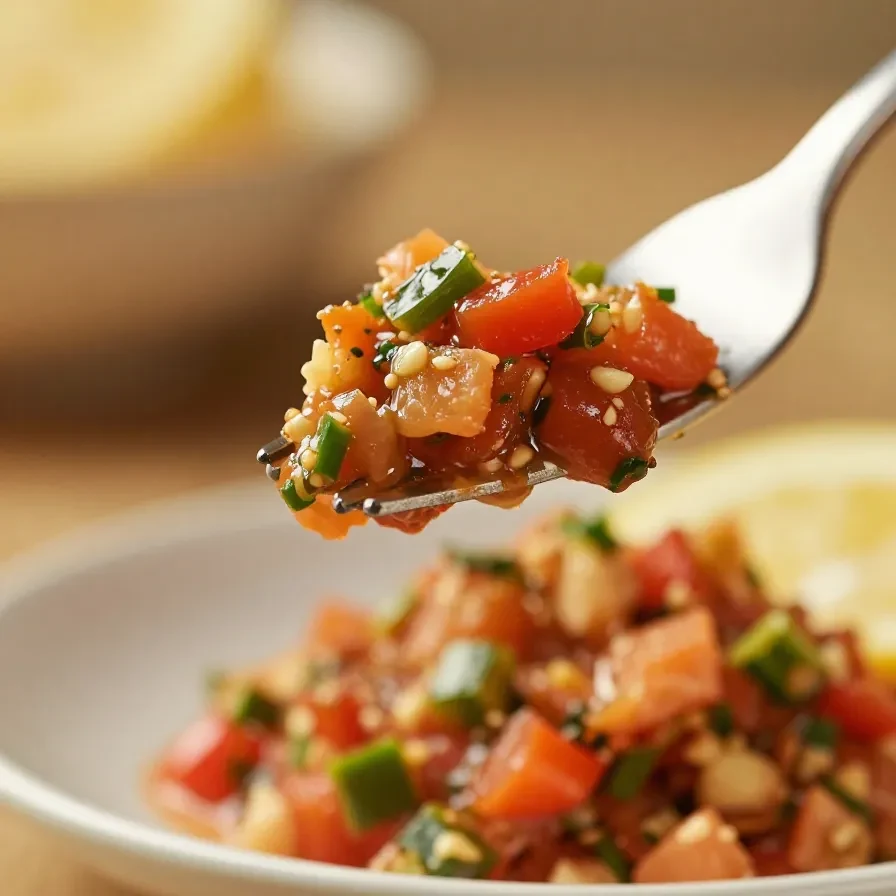
This homemade chunky salsa recipe for canning highlights the vibrant mix of tomatoes, bell peppers, and cilantro, combined with a tangy apple cider vinegar base. Every bite bursts with zesty flavors and a touch of heat from jalapeño peppers, making it the ultimate condiment for tacos, chips, and more. You’ll love how easy it is to preserve these summer flavors to enjoy year-round.
Table of Contents
- Why This Homemade Chunky Salsa Recipe for Canning Works
- Everything You Need for Homemade Chunky Salsa Recipe for Canning
- How To Make Homemade Chunky Salsa Recipe for Canning Step by Step
- Common Mistakes to Avoid When Canning Salsa
- Serving Ideas for Chunky Salsa
- Easy Ingredient Swaps for Chunky Salsa
- The Origin of Salsa
Why This Homemade Chunky Salsa Recipe for Canning Works
- Preserve fresh flavors: This recipe allows you to can and store summer’s vibrant tomatoes and peppers for months without losing their bold taste.
- Simple yet versatile: Packed with customizable spice levels, this salsa complements everything from tortilla chips to grilled meats.
- Safe and reliable: Follow these canning guidelines to ensure safely sealed jars that retain freshness for up to a year.
- Perfect texture: The chunky consistency adds a satisfying bite, making every serving a celebration of fresh produce.
Everything You Need for Homemade Chunky Salsa Recipe for Canning
- 10 cups tomatoes, peeled, cored, and diced
- 5 cups bell peppers, seeded and diced (mix of red, green, and yellow)
- 2 cups onion, diced
- 1 cup jalapeño peppers, seeded and finely chopped
- 1 cup fresh cilantro, chopped
- 1 cup apple cider vinegar
- 4 cloves garlic, minced
- 2 teaspoons ground cumin
- 1 teaspoon paprika
- 1 tablespoon salt
- 1 teaspoon black pepper
- 1 teaspoon sugar
The combination of tomatoes and apple cider vinegar gives this salsa its tangy yet bold flavor. Fresh cilantro enhances each jar with an herbaceous finish, balancing the heat from jalapeños.
How To Make Homemade Chunky Salsa Recipe for Canning Step by Step
- Prepare your workspace by washing and sterilizing canning jars, lids, and rings according to USDA guidelines.
- Peel, core, and dice the tomatoes. Dice the bell peppers and onions, finely chop the jalapeño peppers, and mince the garlic.
- In a large stockpot, combine the tomatoes, bell peppers, onions, jalapeño peppers, garlic, cilantro, apple cider vinegar, cumin, paprika, salt, black pepper, and sugar. Mix thoroughly.
- Bring the mixture to a boil over medium-high heat, stirring occasionally. Reduce the heat and let it simmer for 10 minutes to allow the flavors to meld.
- Carefully ladle the hot salsa into sterilized jars, leaving about 1/2 inch of headspace at the top.
- Wipe the rims of the jars with a clean, damp cloth to remove any residue. Place the lids on the jars and tighten the rings until snug but not overly tight.
- Process the jars in a boiling water bath canner for 15 minutes (adjust for altitude as necessary).
- Remove the jars from the canner and let them cool completely on a towel or cooling rack for 12-24 hours. Ensure the lids have sealed properly (they should not flex when pressed).
- Store sealed jars in a cool, dark place for up to 12 months. Refrigerate any jars that didn’t seal properly and consume within 1 week.
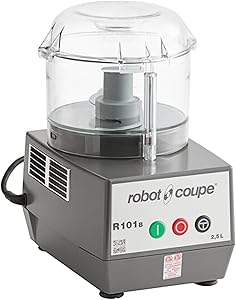
Perfect for chopping vegetables evenly and quickly — ideal for salsa preparation

Essential for canning salsa — durable and reliable for preserving freshness
Common Mistakes to Avoid When Canning Salsa
- Skipping sterilization: Always sterilize jars to avoid contamination that could spoil your salsa.
- Not adjusting for altitude: Failing to modify the boiling time for altitude differences may lead to improperly sealed jars.
- Overtightening the rings: Rings that are too tight can trap air bubbles, preventing a secure seal during the canning process.
Serving Ideas for Chunky Salsa
- Pair with tortilla chips for a classic snack and party staple.
- Serve over grilled chicken or fish for a zesty topping that adds flavor and texture.
- Add a dollop to scrambled eggs or omelets for a spicy breakfast twist.
- Use as a taco condiment to brighten and complement the flavors of your fillings.
Easy Ingredient Swaps for Chunky Salsa
- Swap apple cider vinegar with white vinegar for a less tangy but equally effective preservative.
- Replace jalapeño peppers with serrano peppers for a spicier kick.
- Use parsley instead of cilantro for a milder herbaceous note without overpowering the salsa.
The Origin of Salsa
Salsa has roots in Latin American cuisine, traditionally featuring tomatoes, chili peppers, and other regional spices. The term “salsa” simply means “sauce” in Spanish, and its variations have evolved to suit diverse cultural palates around the world. Modern canning practices allow home cooks to preserve this vibrant condiment for extended enjoyment.
Homemade Chunky Salsa Recipe for Canning
Ingredients
Method
- Prepare your workspace by washing and sterilizing canning jars, lids, and rings according to USDA guidelines.
- Peel, core, and dice the tomatoes. Dice the bell peppers and onions, finely chop the jalapeño peppers, and mince the garlic.
- In a large stockpot, combine the tomatoes, bell peppers, onions, jalapeño peppers, garlic, cilantro, apple cider vinegar, cumin, paprika, salt, black pepper, and sugar.
- Bring the mixture to a boil over medium-high heat, stirring occasionally. Reduce the heat and let it simmer for 10 minutes to allow the flavors to meld.
- Carefully ladle the hot salsa into sterilized jars, leaving about 1/2 inch of headspace at the top.
- Wipe the rims of the jars with a clean, damp cloth to remove any residue. Place the lids on the jars and tighten the rings until snug but not overly tight.
- Process the jars in a boiling water bath canner for 15 minutes (adjust for altitude as necessary).
- Remove the jars from the canner and let them cool completely on a towel or cooling rack for 12-24 hours. Ensure the lids have sealed properly (they should not flex when pressed).
- Store sealed jars in a cool, dark place for up to 12 months. Refrigerate any jars that didn’t seal properly and consume within 1 week.
Notes
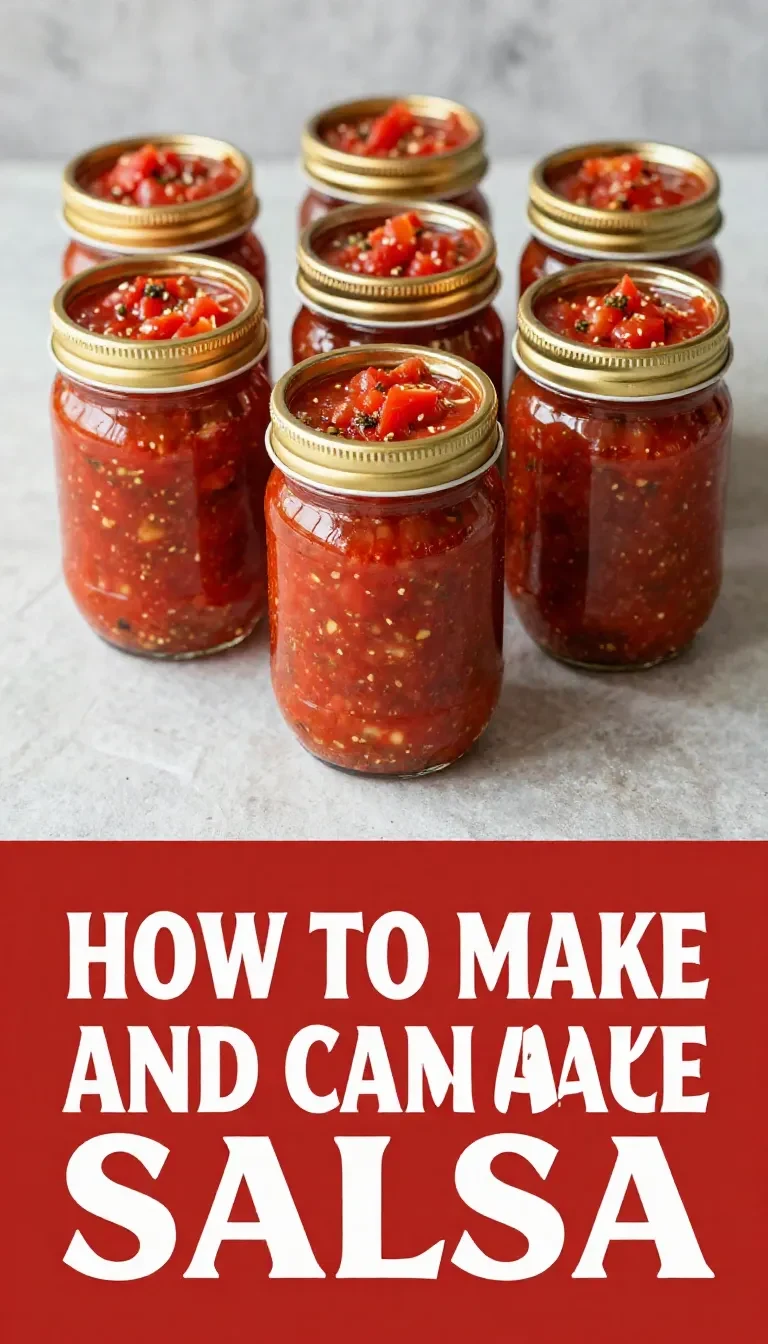
Loved this recipe? Save it to your favorite Pinterest board so you can easily find it later! ✨