
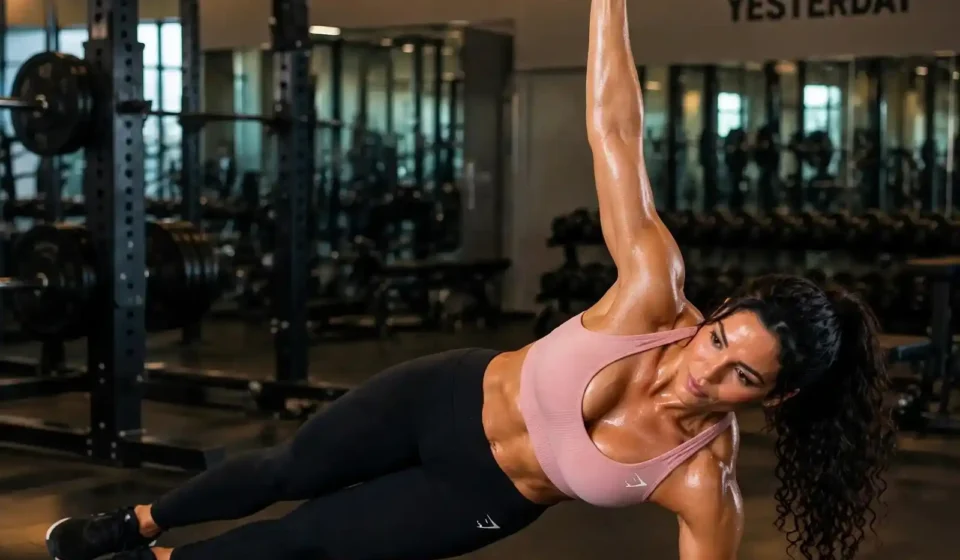

The plank hover is a challenging core exercise that helps develop stability, coordination, and muscular endurance. It is often included in core workouts because it requires several muscle groups to work together while maintaining a controlled body position.
Plank Hover Exercise: How to Do It and Common Mistakes Whether you’re new to core training or looking to add variety to your routine, the plank hover can be a useful exercise to learn. The key is to focus on proper form rather than holding the position for as long as possible.
In this guide, you’ll learn what the plank hover is, how to perform it step by step, which muscles it works, and the common mistakes to avoid.
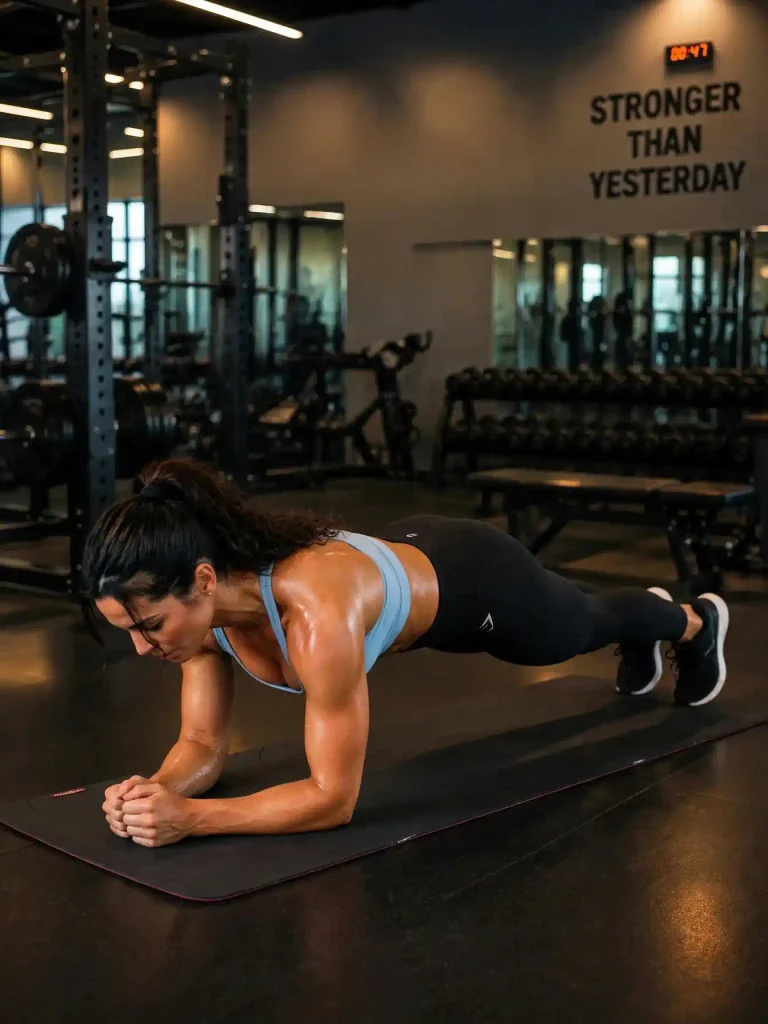
What Is the Plank Hover Exercise?
The plank hover is a variation of the traditional plank. It is usually performed on your hands and knees or hands and toes, depending on the variation.
In a standard bear plank hover, you begin on all fours and lift your knees a few inches off the floor while keeping your back steady and your core engaged.
Unlike a traditional high plank, where your legs are extended, the bear plank hover keeps your knees bent and close to the floor. This creates a different stability challenge for your core, shoulders, and legs.
Benefits of the Plank Hover
The plank hover offers several benefits when performed with controlled technique.
1. Strengthens Core Stability
Your abdominal and deeper core muscles work to keep your torso steady while your knees hover above the floor. Practicing this movement can help improve core control.
2. Engages Multiple Muscle Groups
Although the exercise focuses on core stability, it also involves your shoulders, arms, glutes, and legs.
3. Improves Coordination
Keeping your body stable while holding the hover position requires coordination between your upper and lower body.
4. Supports Better Movement Control
The plank hover encourages you to maintain a steady spine and control your movements. These skills can be useful during other exercises and everyday activities.
5. Requires No Equipment
You only need a comfortable exercise mat and enough space to move. This makes the plank hover easy to include in a home workout.
What Muscles Does the Plank Hover Work?
The plank hover involves several muscle groups working together:
- Abdominal muscles: Help stabilize your torso.
- Deep core muscles: Support spinal stability and body control.
- Shoulders: Help support your upper body.
- Arms: Assist in maintaining your position.
- Glutes: Help keep your hips stable.
- Quadriceps: Help maintain the bent-knee position.
The exercise is primarily a stability movement rather than a fast-paced strength exercise.
How to Do the Plank Hover Exercise Correctly
<AsyncImage query=”bear plank hover exercise correct form knees hovering above mat fitness demonstration side view” aspectRatio=”16:9″ width=”100%”/>
Follow these steps to perform a basic bear plank hover:
Step 1: Start on All Fours
- Place your hands directly underneath your shoulders.
- Position your knees underneath your hips.
- Keep your fingers spread comfortably.
- Maintain a neutral back position.
- Look down toward the mat.
Step 2: Engage Your Core
Gently tighten your abdominal muscles as if preparing for a small movement. Keep your back steady without holding your breath.
Step 3: Lift Your Knees
Press through your hands and toes, then lift both knees a few inches above the floor.
Keep your knees bent and close to the ground. Avoid lifting your hips too high.
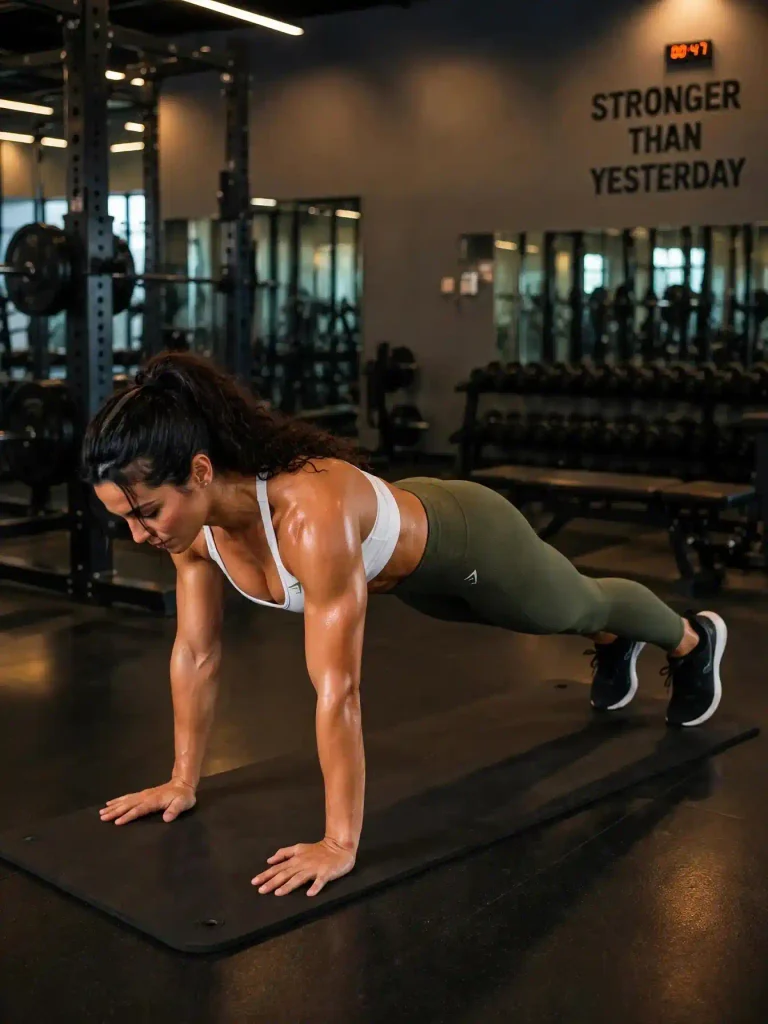
Step 4: Hold the Position
Maintain the hover while keeping your back steady, shoulders over your wrists, and hips controlled.
Breathe naturally throughout the hold.
Step 5: Lower Slowly
Gently return your knees to the mat. Rest briefly before repeating the movement.
Beginner Plank Hover Workout
If you’re new to the exercise, begin with short holds and focus on maintaining a comfortable position.
| Exercise | Duration |
|---|---|
| Bear plank hover | 10 seconds |
| Rest | 20 seconds |
| Bear plank hover | 10 seconds |
| Rest | 20 seconds |
| Bear plank hover | 10 seconds |
Start with one round. If the movement feels comfortable and your technique stays controlled, you can gradually increase the holding time.
You can also practice the position with your knees resting on the floor before progressing to the full hover.
Common Plank Hover Mistakes to Avoid
Even though the plank hover looks simple, small technique mistakes can make it harder to maintain proper form.
<AsyncImage query=”bear plank hover exercise incorrect versus correct posture fitness form comparison” aspectRatio=”16:9″ width=”100%”/>
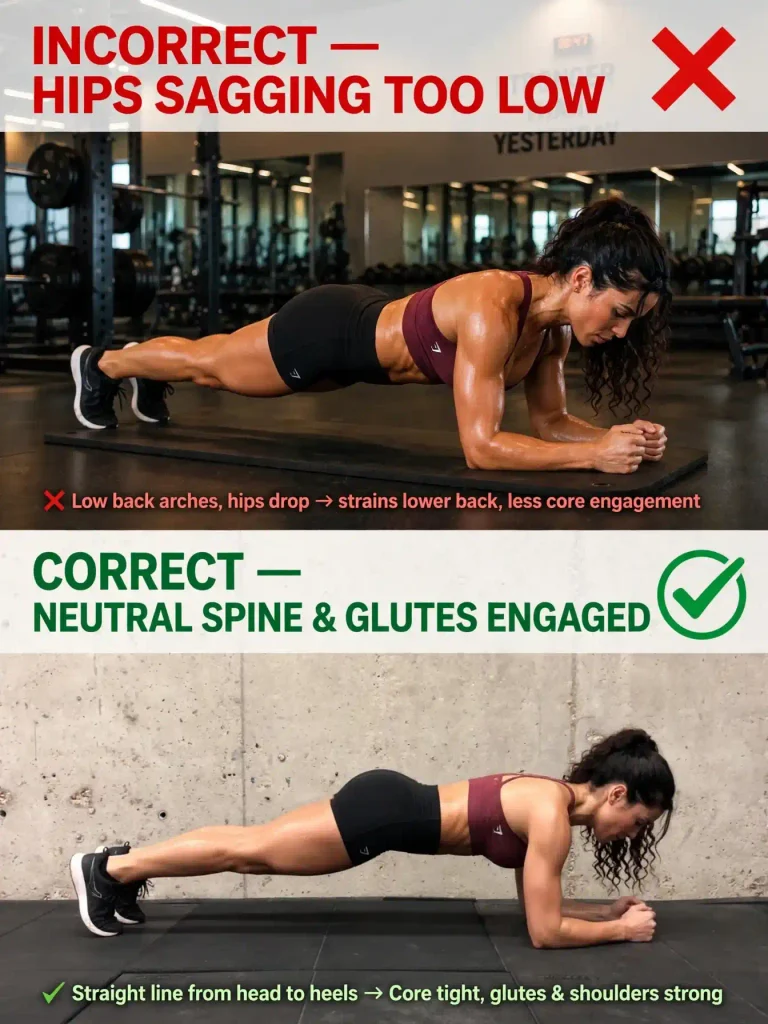
1. Lifting the Hips Too High
Your hips should remain relatively level with your shoulders. Raising them too high changes the exercise and reduces the stability challenge.
Tip: Keep your knees close to the floor and your torso steady.
2. Rounding or Arching Your Back
Allowing your lower back to sag or your upper back to round excessively can make the position uncomfortable.
Tip: Keep your spine in a natural, neutral position.
3. Holding Your Breath
Some people naturally hold their breath when concentrating on a challenging exercise.
Tip: Breathe steadily throughout the hold.
4. Placing Your Hands Too Far Forward
Your hands should be positioned approximately underneath your shoulders.
Tip: Check your hand placement before lifting your knees.
5. Trying to Hold the Position Too Long
Longer holds are not automatically better. When fatigue affects your technique, the exercise becomes less controlled.
Tip: Begin with short holds and rest between repetitions.
6. Moving Too Quickly
The plank hover is about stability, not speed.
Tip: Lift and lower your knees slowly, keeping the movement controlled.
Plank Hover Variations for Different Fitness Levels
Once you understand the basic movement, you can explore different variations.
1. Modified Bear Hover
<AsyncImage query=”modified bear plank hover knees supported on exercise mat beginner demonstration” aspectRatio=”16:9″ width=”100%”/>
Keep your knees on the floor and practice engaging your core while maintaining a steady back. This is a useful starting point for beginners.
2. Standard Bear Plank Hover
<AsyncImage query=”standard bear plank hover exercise knees lifted few inches off floor” aspectRatio=”16:9″ width=”100%”/>
Lift both knees a few inches above the floor while keeping them bent. Focus on maintaining a stable position.
3. Bear Hover Shoulder Tap
<AsyncImage query=”bear plank shoulder tap exercise demonstration fitness” aspectRatio=”16:9″ width=”100%”/>
From the bear hover position, slowly lift one hand and gently tap the opposite shoulder. Alternate sides while keeping your hips as steady as possible.
Try this variation only after you can comfortably maintain the basic hover.
Tips for Better Plank Hover Form
Keep these simple reminders in mind during your workout:
- Keep your hands underneath your shoulders.
- Maintain a natural spine position.
- Keep your knees close to the floor.
- Engage your abdominal muscles gently.
- Avoid unnecessary movement in your hips.
- Breathe naturally.
- Stop when you can no longer maintain comfortable technique.
If you experience pain or unusual discomfort, stop the exercise. Choose a modified version if the standard position feels too challenging.
Frequently Asked Questions
How long should a beginner hold a plank hover?
Beginners can start with 5 to 10 seconds per repetition. Focus on maintaining good form rather than reaching a particular time.
Is the plank hover harder than a regular plank?
They challenge the body differently. A bear plank hover keeps the knees bent and close to the floor, while a traditional plank uses an extended-body position. Which feels harder depends on your experience and technique.
Can I do plank hovers every day?
You don’t need to practice them every day. Two or three sessions per week can be a reasonable starting point, with enough recovery between core workouts.
Does the plank hover work your abs?
Yes. Your abdominal and deeper core muscles help stabilize your torso throughout the movement.
Do I need equipment for plank hovers?
No special equipment is required. An exercise mat can make the movement more comfortable.
Final Thoughts
The plank hover is a simple but effective exercise for practicing core stability, coordination, and controlled movement. It can be adapted for beginners and included in a balanced home workout.
Start with short holds, maintain a neutral back, and keep your knees close to the floor. As your technique improves, you can explore more challenging variations.
Remember, good form matters more than holding the position for a long time.

[…] Repeat in a smooth, comfortable motion. […]